


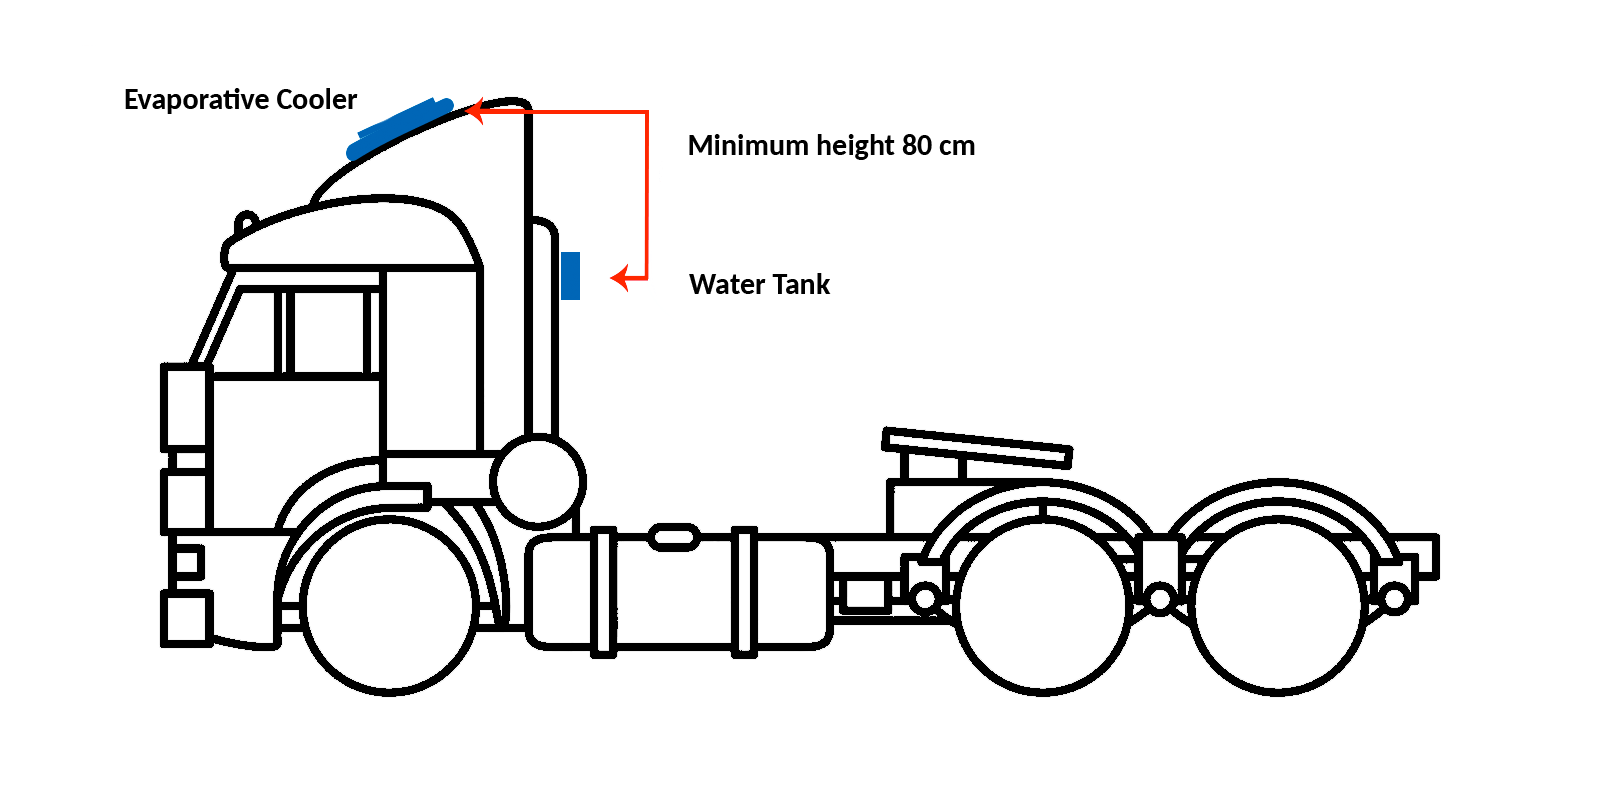
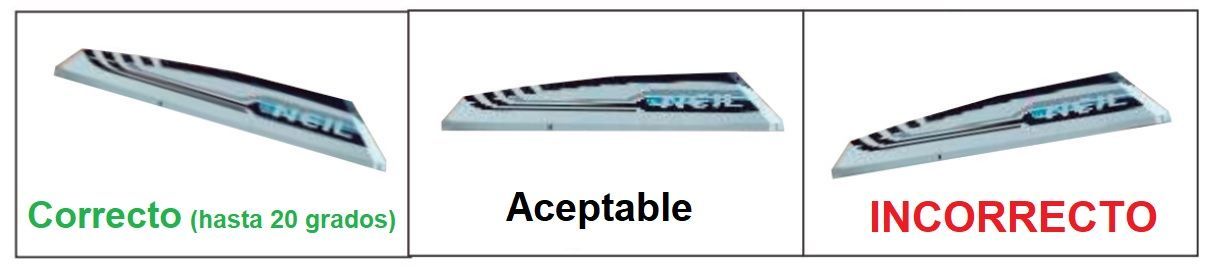
Evaporative Cooler Installed with Tilt Back
In the event that the evaporative cooler has been installed slightly tilted backwards, it is very likely that water accumulates inside and then that water enters the vehicle with the vehicle’s own movements.
In that case, it is recommended to do the following::
- Remove the evaporative cooler (you can help yourself by watching the Installation tutorials)
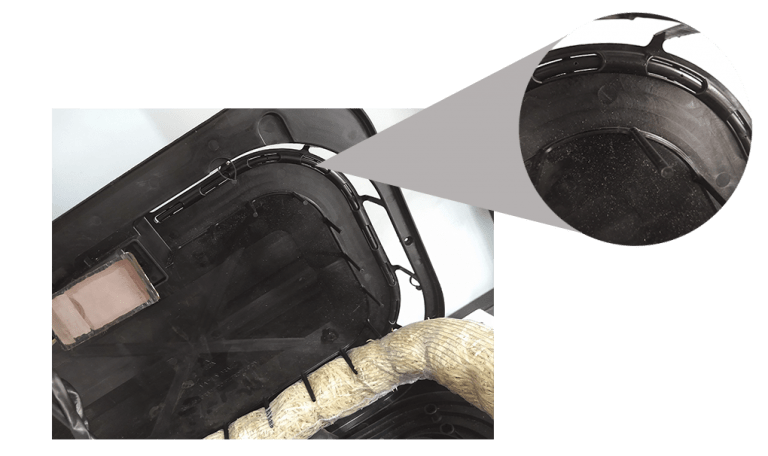
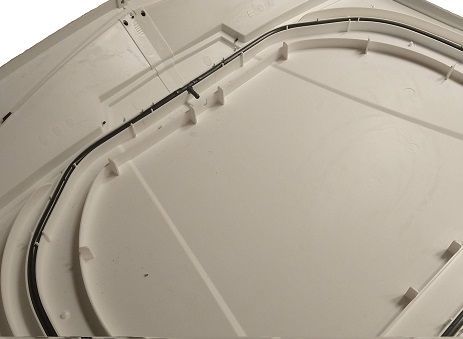
- Place a supplement to the weatherstripping at the back, to force the evaporative cooler to lean slightly forward once it is in place.
- Reinstall the evaporative cooler.
- Be sure to seal with Fastix or a similar product, in case there is any gap between the evaporative cooler and the roof of the vehicle.

If you notice water coming out of the evaporative cooler and ending up on the windshield or the side of the vehicle, you can easily fix it as follows::
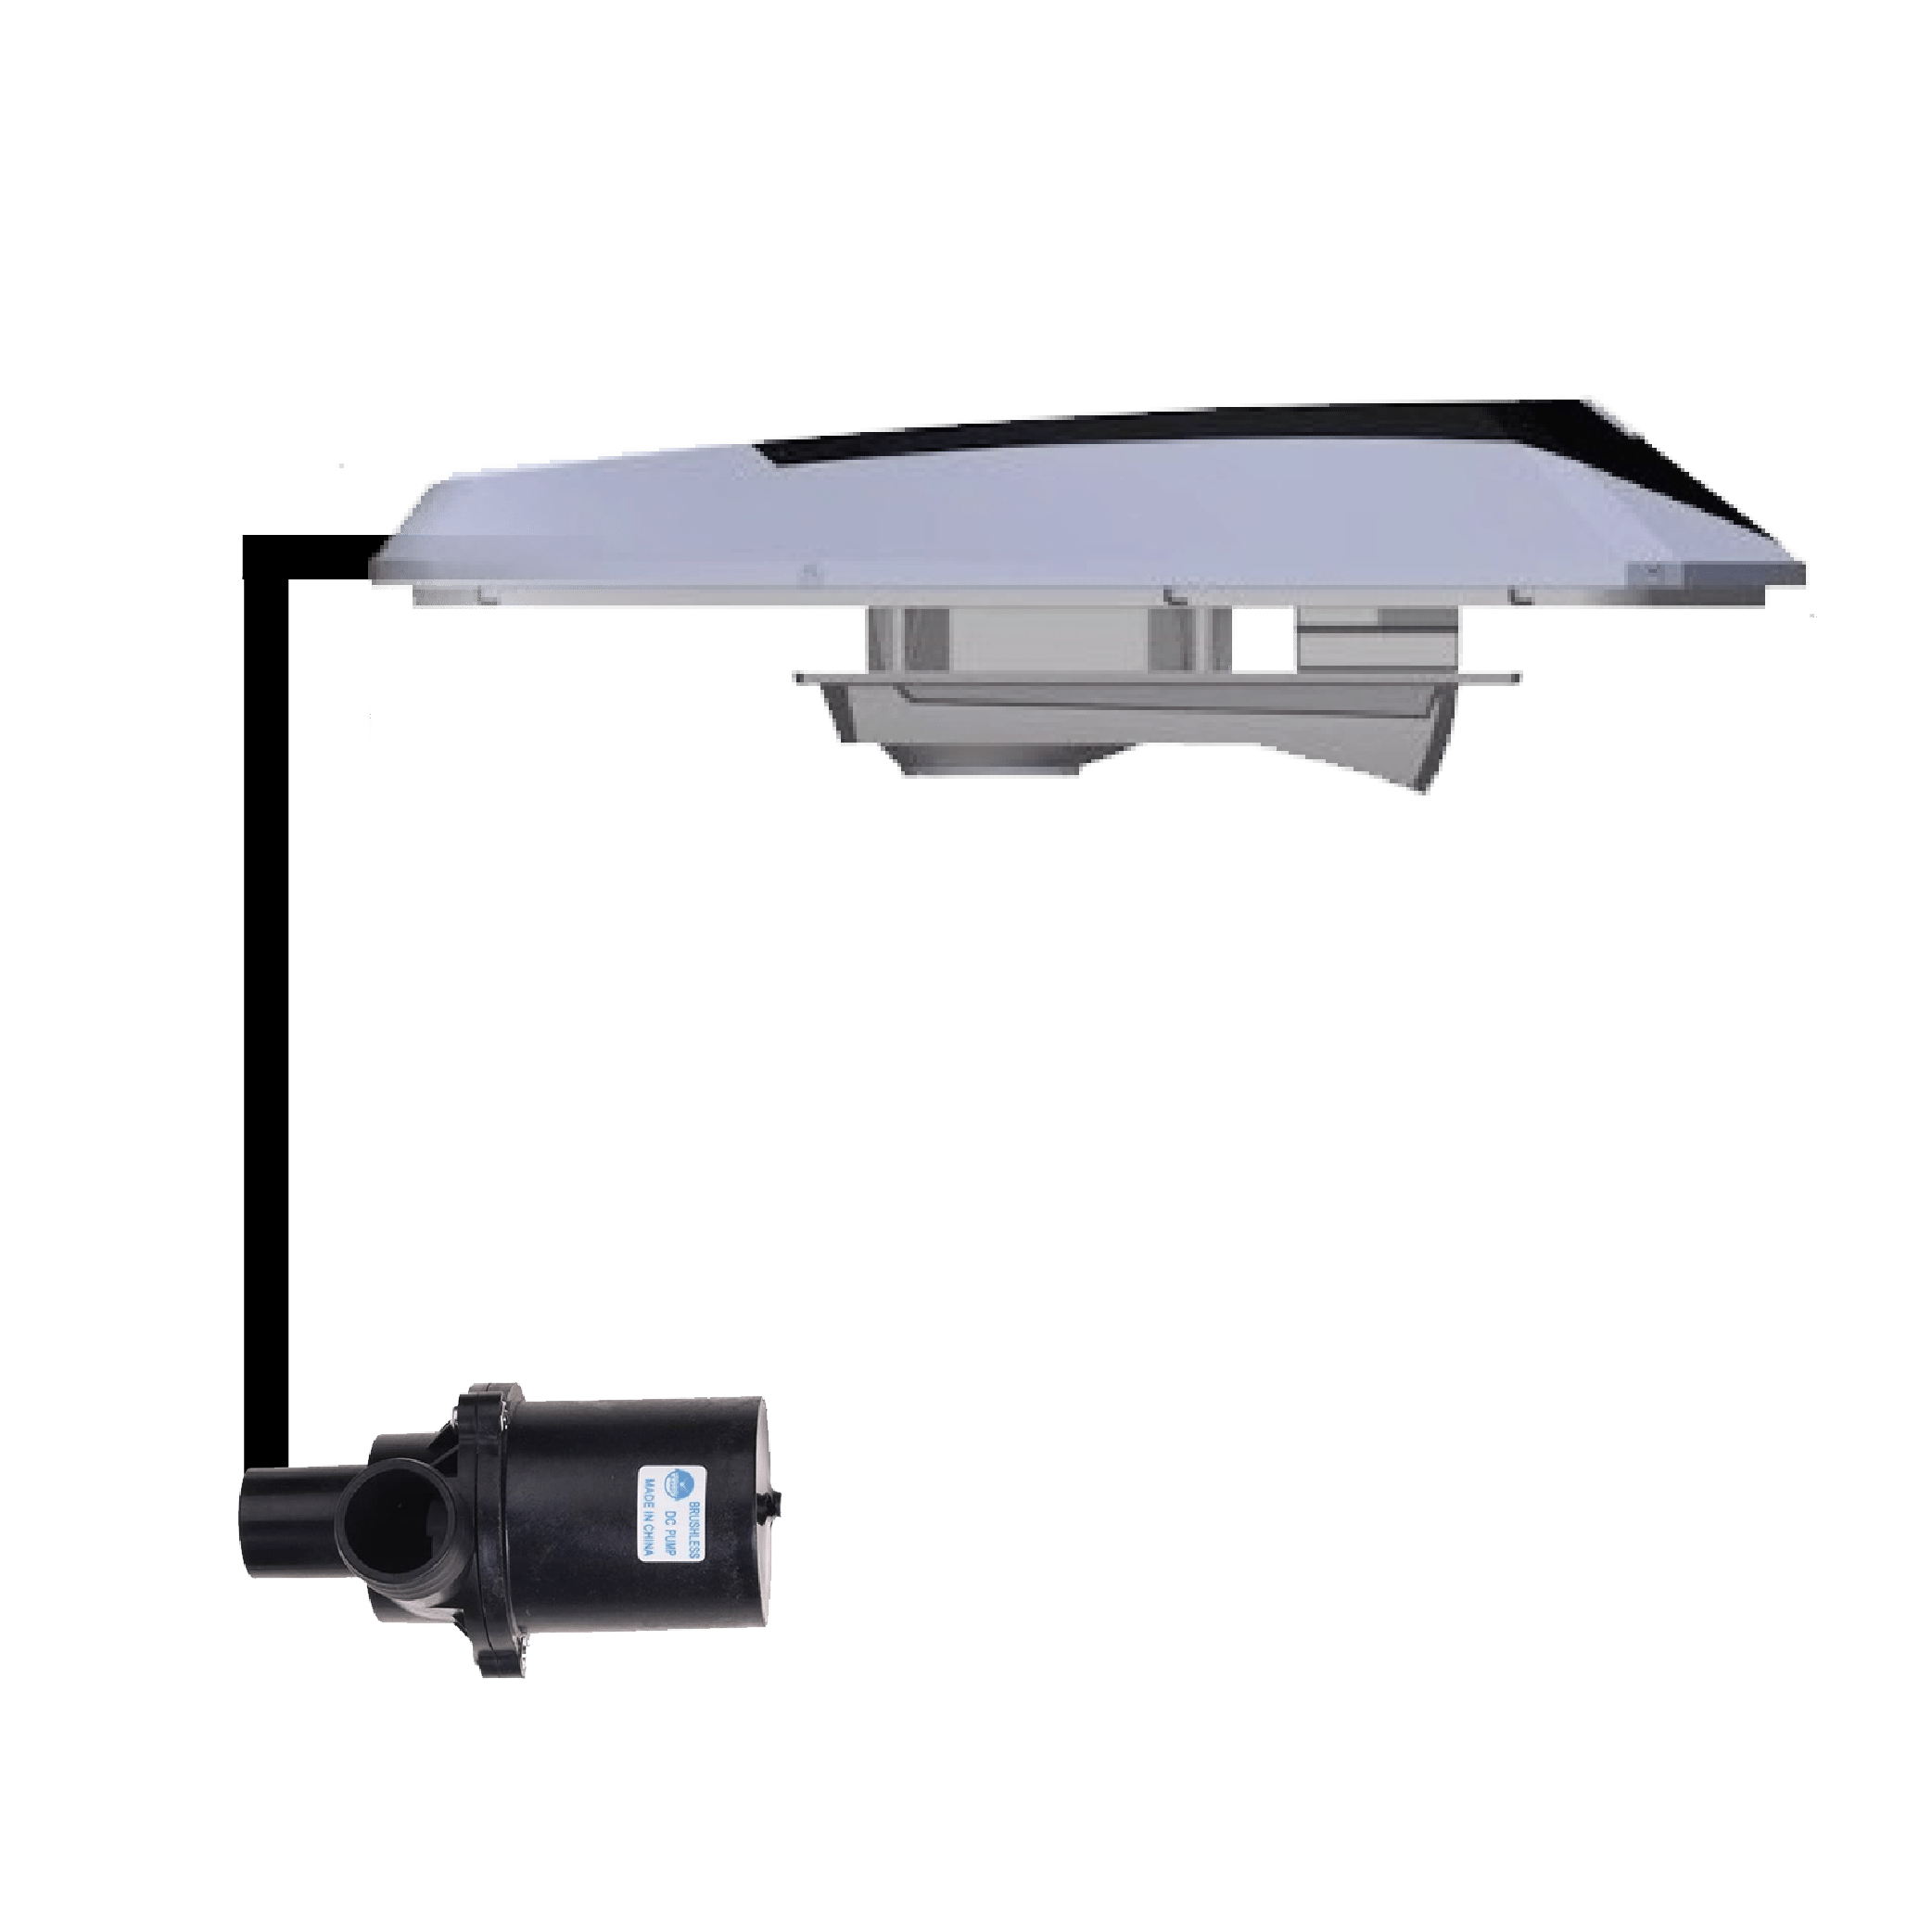
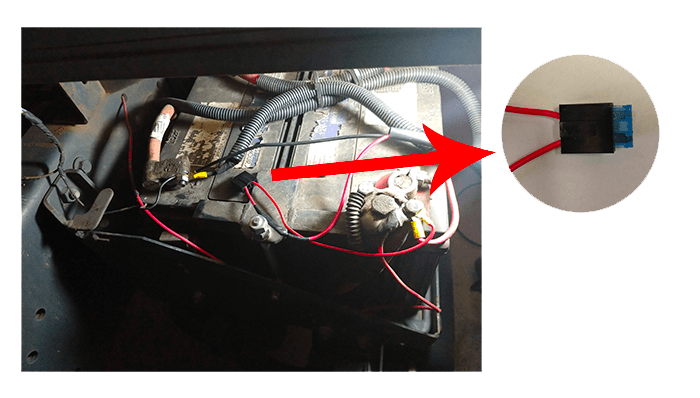
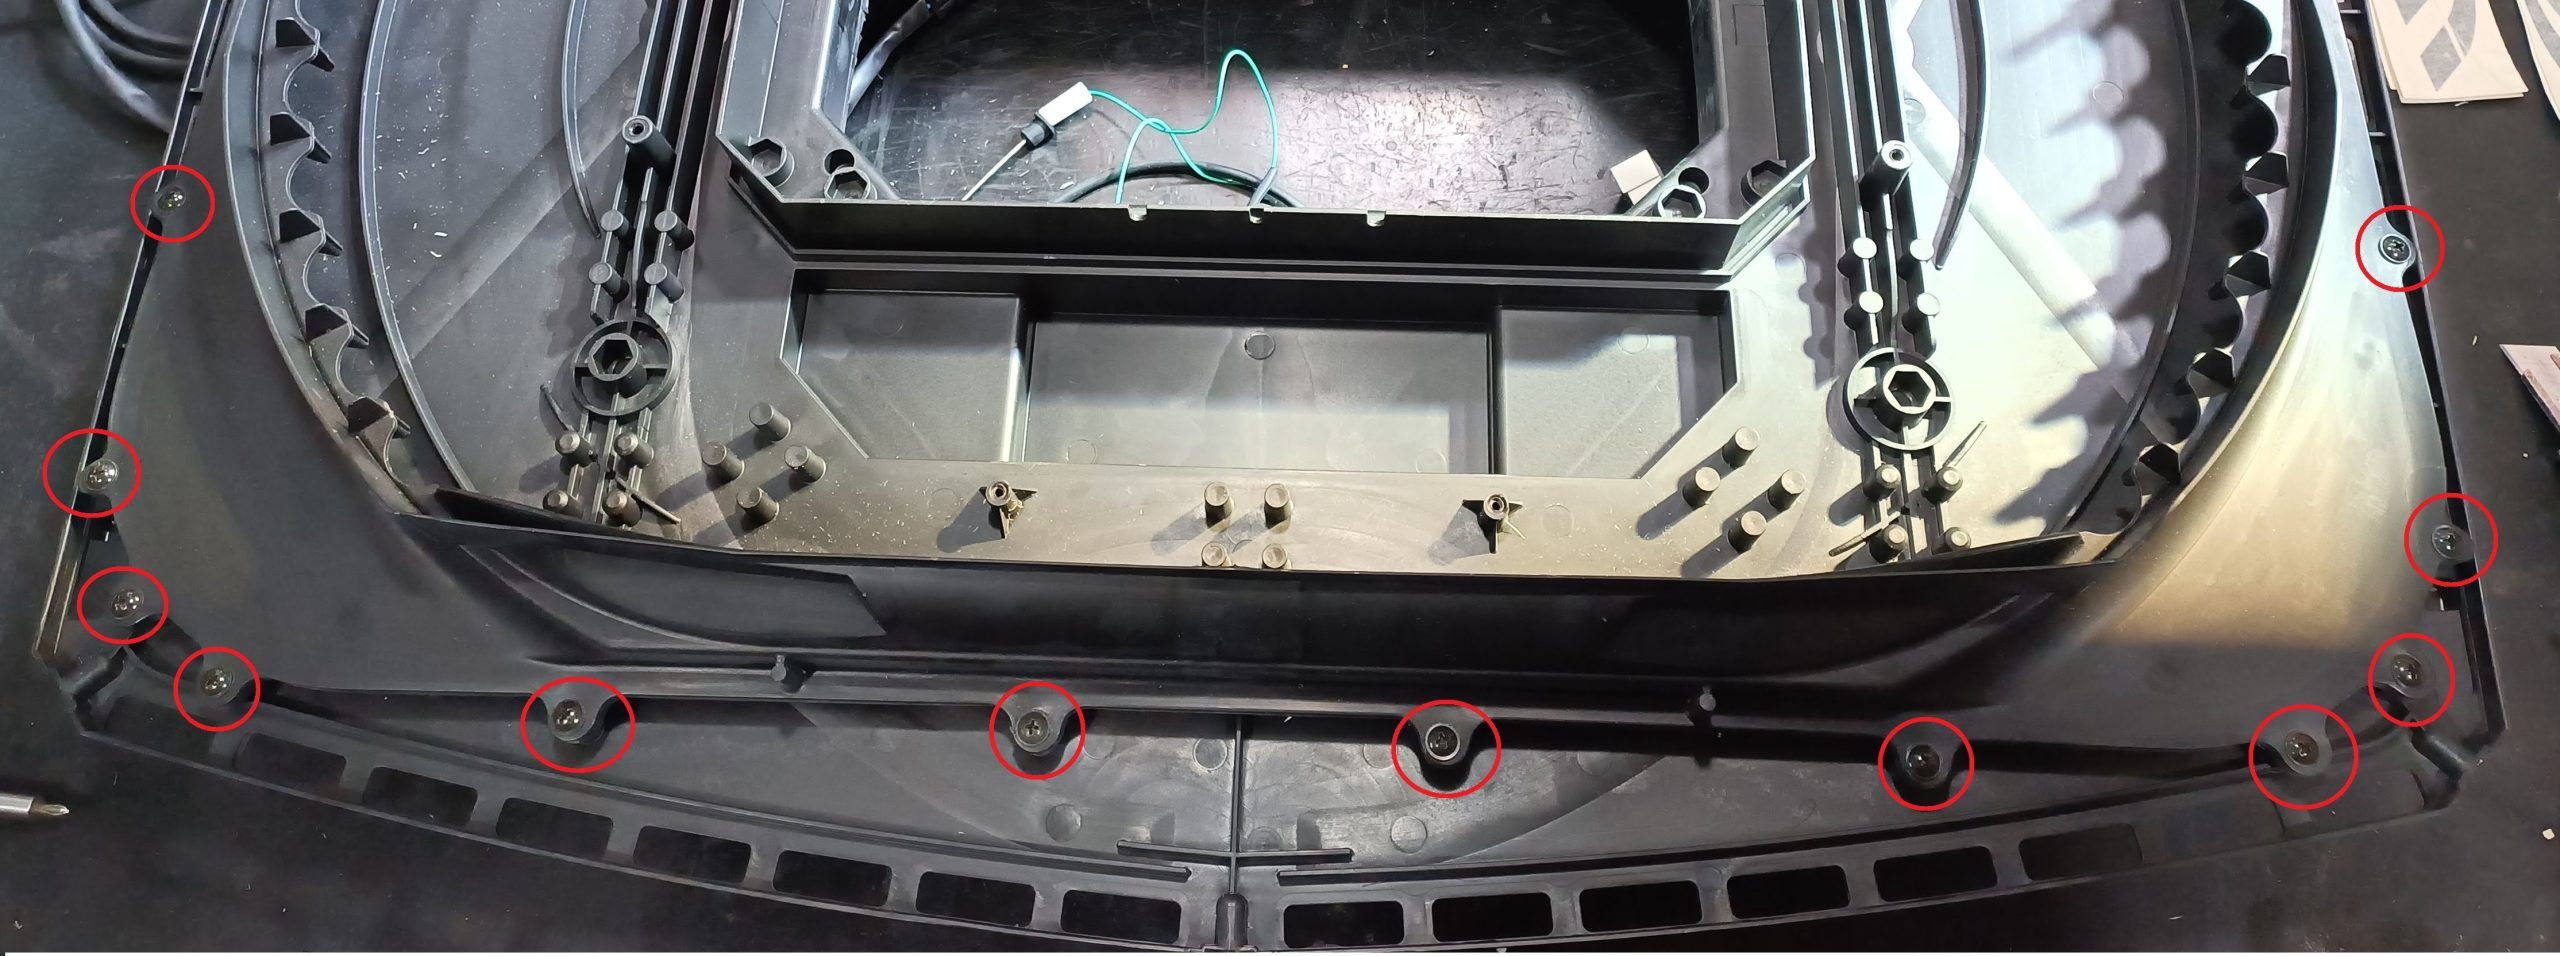
1. Remove the shell of the evaporative cooler to the front, since, depending on the model, the hose is connected to the spray tube of the shell.
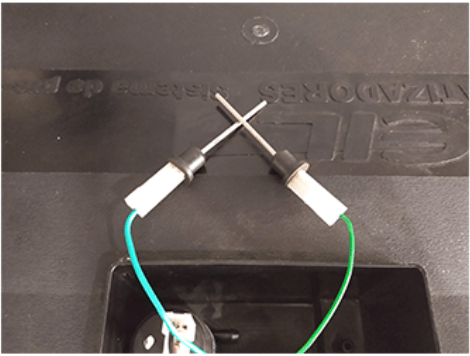
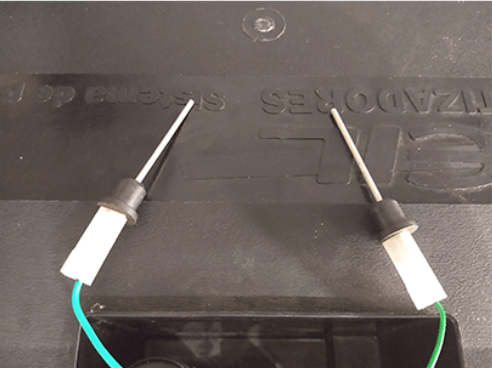
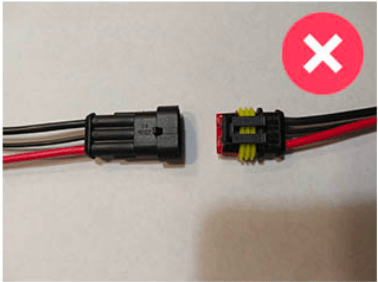
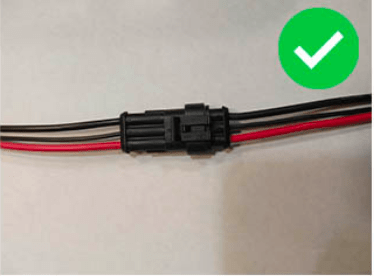
2. Check that the hose coming from the spray pump is properly connected to the spray head. It must be well connected.
3. Check the spray tube and make sure the holes are clear. We recommend that the 2 holes that are closest to the «T» of the spray tube are covered with insulating tape. This increases the pressure in the rest of the holes, improves the performance of the cooler and prevents water from escaping to the outside in some cases.
For questions or queries you can write to sales@neil.com.ar or you can send a WhatsApp to our technical support
